
How to use a photo booth template with dslrBooth

Bought a template on Photobooth Market and running dslrBooth? The ZIP file we provide imports straight into the software: no need to rebuild the frame or place the photos by hand.
Files included with every template
- ZIP for dslrBooth: the complete template, photo areas already placed;
- PSD: the editable Photoshop file (texts, layers);
- Blank PNG: the frame without text, reusable in any app that accepts a transparent PNG overlay;
- .xbdr file for Darkroom Booth (see how to use a template with Darkroom).
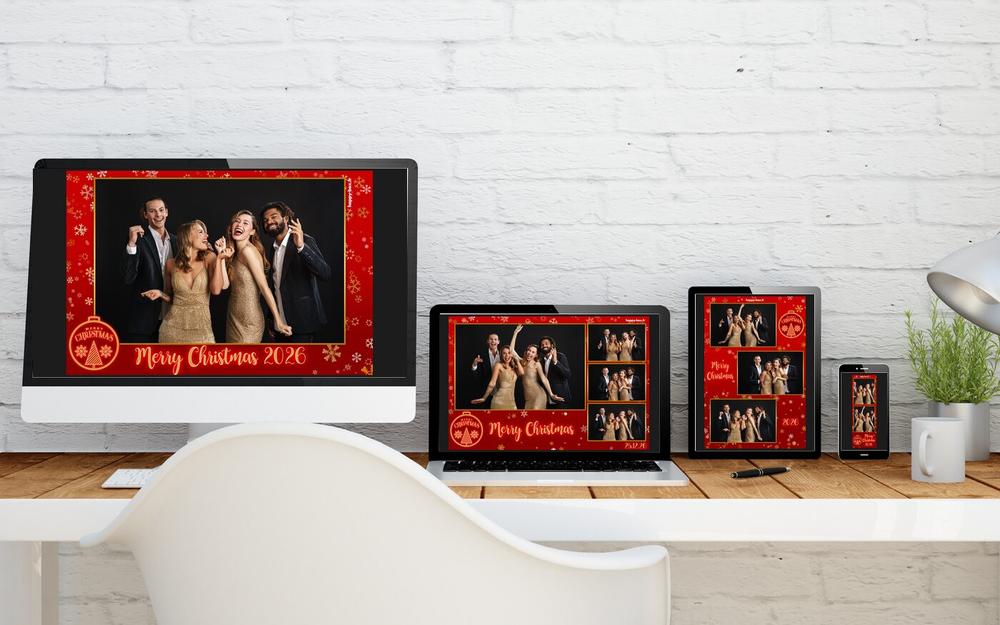
Import the template into dslrBooth
- Download your files from your order and keep the ZIP as is (do not unzip it).
- In dslrBooth, open the print design.
- Choose the Import option and select the ZIP.
- Check the preview: the photo areas match the number of shots of the template (1, 2, 3 or 4 photos).
- Print a test before the event to check colours and cutting.
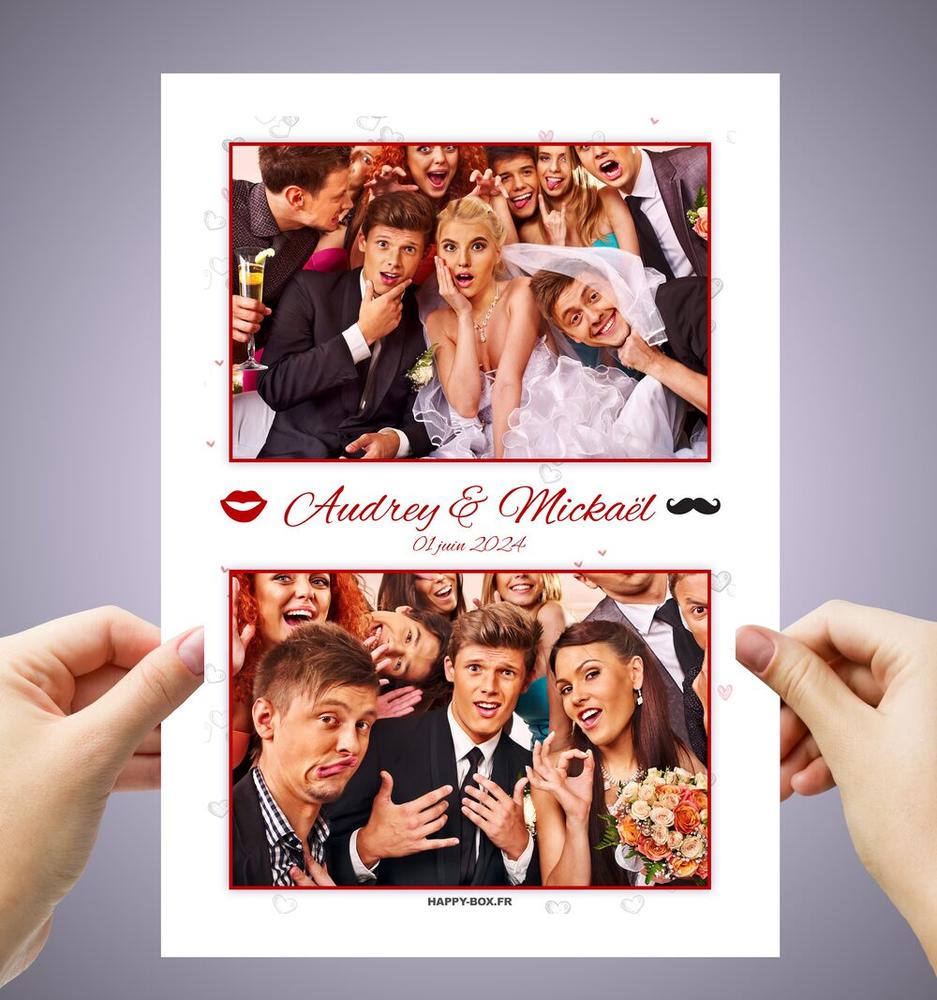
Change the text
- Without software: ask for text customisation (name, date…) when you order, it is free on customisable templates.
- With Photoshop: edit the PSD, export the overlay as a PNG at the same size, then replace the frame in dslrBooth.
Print settings
Our 4x6 templates are 1800 x 1200 pixels and our 2x6 strips 600 x 1800 pixels, i.e. 300 dpi, the resolution photo booth printers expect. A strip ZIP is already set to print two strips per 4x6 sheet; turn on cutting on the printer if it supports it.
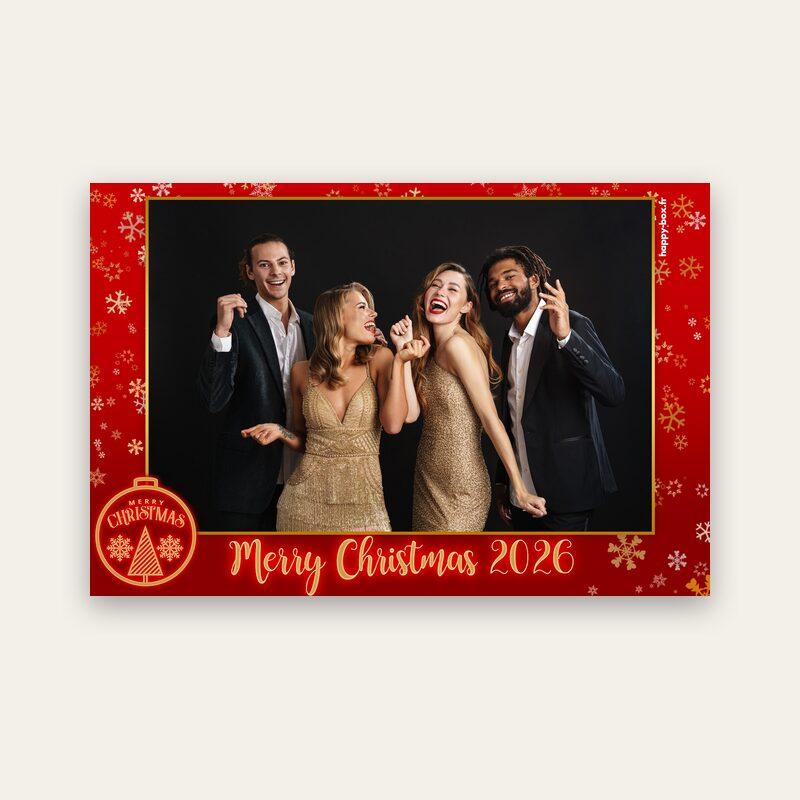
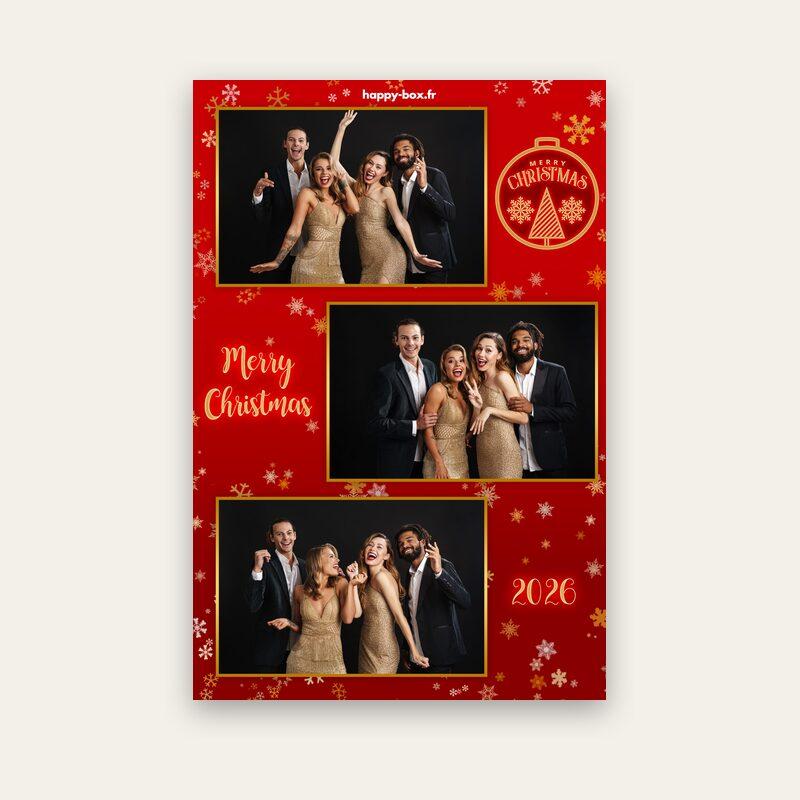
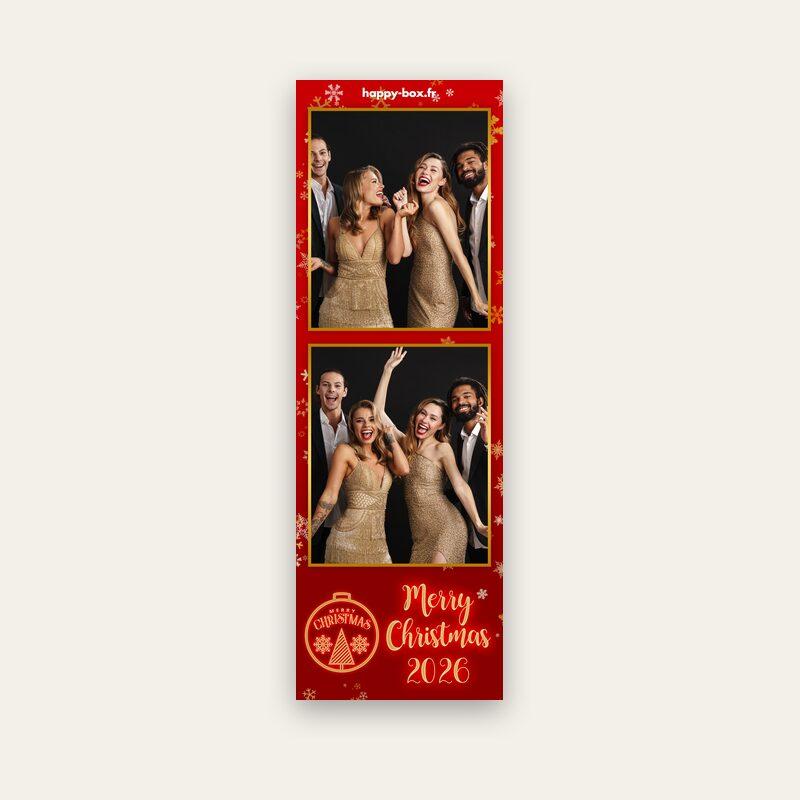
Need a template? Browse all our photo booth templates
FAQ
Does the template work with software other than dslrBooth?
Yes: use the blank PNG as an overlay in any app that accepts a transparent PNG frame, or the PSD in Photoshop. For Darkroom Booth, the .xbdr file we provide installs directly.
Can I use the template for several events?
The blank PNG without text is made to be reused: just add each event's text.