
How to use a photo booth template with Darkroom Booth

Running your photo booth with Darkroom Booth? Every template bought on Photobooth Market comes with its .xbdr file, the Darkroom template format: the frame and the photo areas are already in place, you just add it to your templates.
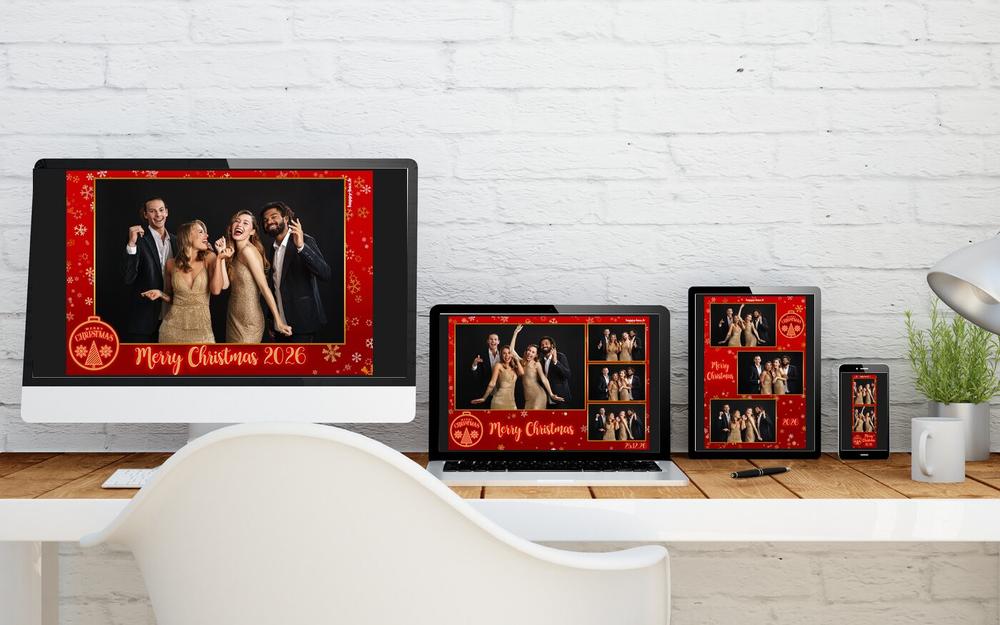
Files included with every template
- .xbdr file for Darkroom Booth: the complete template, ready to use;
- ZIP for dslrBooth, if you also use that software;
- PSD: the editable Photoshop file (texts, layers);
- Blank PNG: the frame without text, to reuse.
Already bought a template? The .xbdr file has been added to your orders: find it in your account, with the other files.
Install the template in Darkroom Booth
- Download the .xbdr file from your order, on the Windows PC that runs Darkroom Booth.
- Start Darkroom Booth: the virtual X: drive it creates only exists while the software is running.
- Copy the .xbdr file into the X:\Booth Template folder, without renaming it.
- The template shows up in the Darkroom template list on its own, under a name starting with PBM_ (for example PBM_TPL_N01_04).
- Pick it for your event and print a test to check colours and cutting.
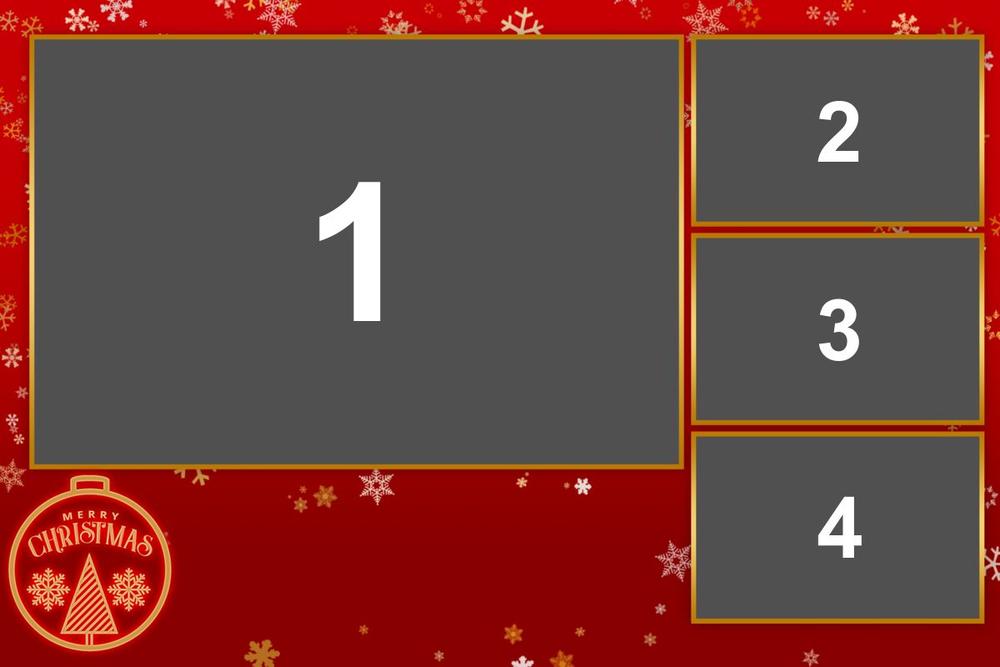
Photo areas
The photo areas are already placed and numbered in shooting order: photo 1 goes into area 1, photo 2 into area 2, and so on. The number of areas matches the layout you bought (1, 2, 3 or 4 photos).
You can adjust an area in the Darkroom template editor, but you do not need to: they fit the windows of the frame.
One file per layout
Each design comes in several layouts, and each layout has its own .xbdr file:

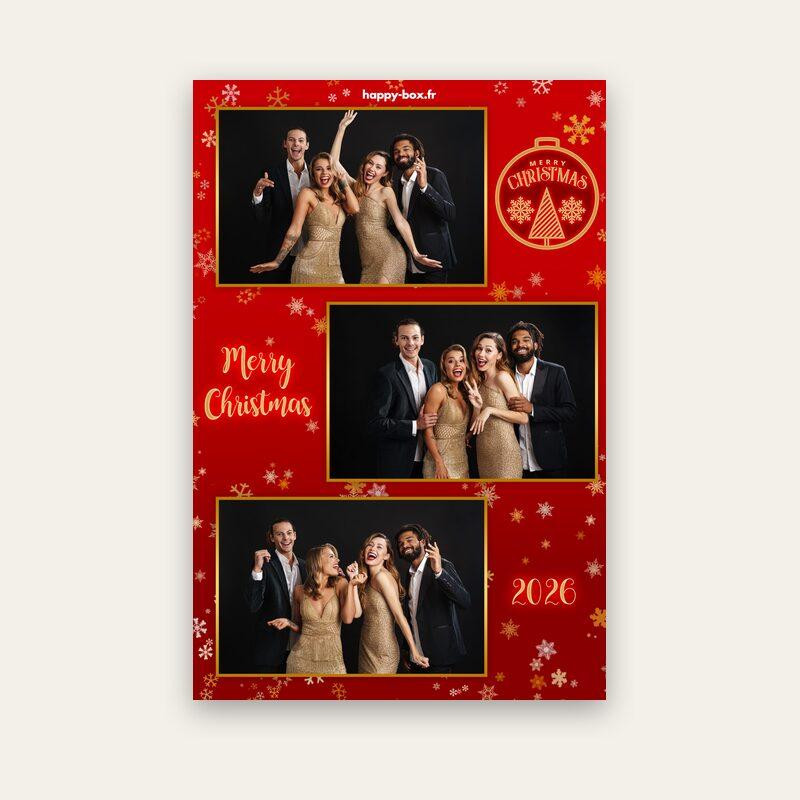
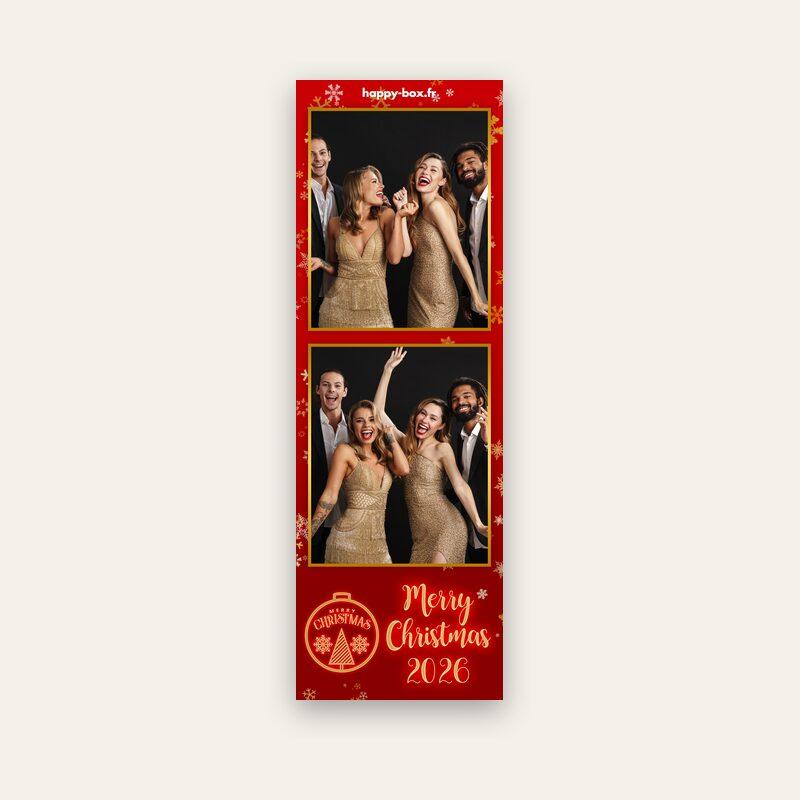
Every layout is 300 dpi, the resolution photo booth printers expect. For strips, check the 4x6 sheet layout and cutting in the Darkroom print settings.
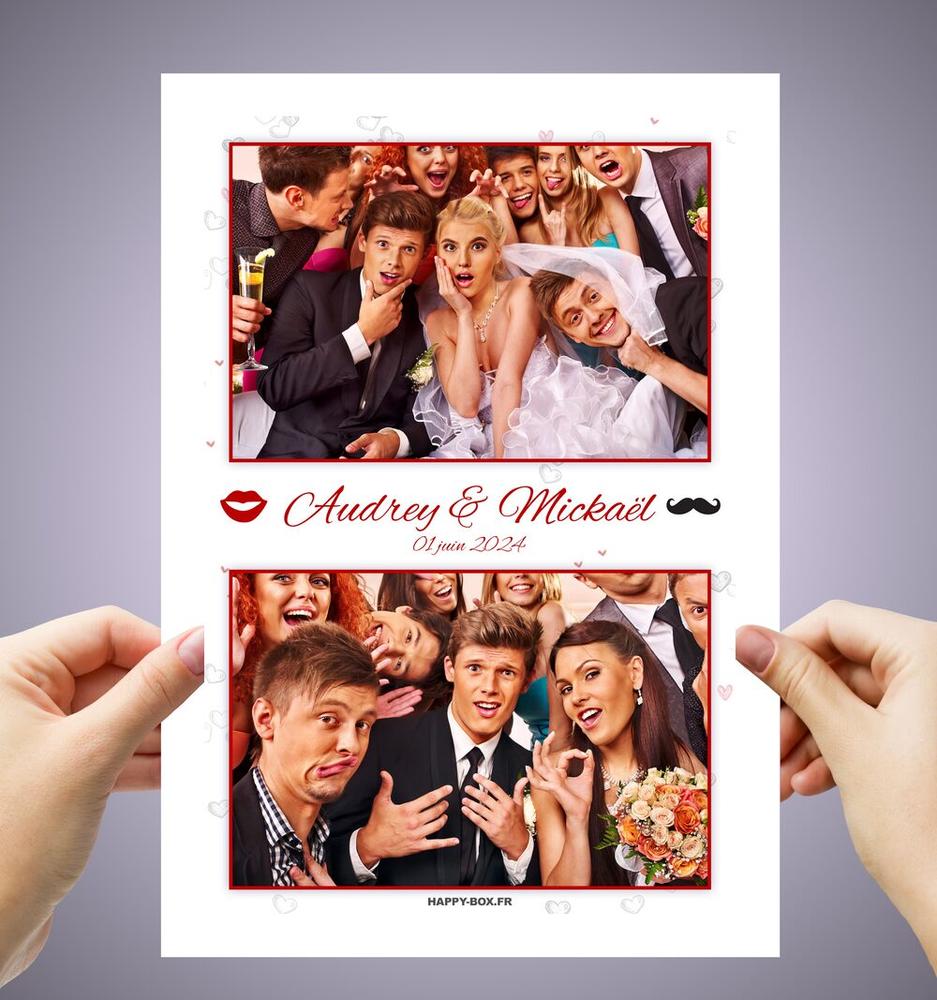
Change the text
- Without software: ask for text customisation (names, date, message) when you order, it is free on customisable templates.
- With Photoshop: edit the PSD, export it as a PNG at the same size, then replace the frame of the template in the Darkroom template editor.
- The blank PNG can be reused from one event to the next: just add the text of each party.
Need a template for your next event? All our templates come with their Darkroom file.
FAQ
I cannot find the X: drive on my PC.
The X: drive only exists while Darkroom Booth is running. Open the software, then copy the file into X:\Booth Template.
The template does not open in Darkroom.
Update Darkroom Booth: an old version may refuse a recent template. If it still fails, download the file again from your order and write to us.
Can I use the template on several booths?
Yes, for your own events: copy the same .xbdr file into X:\Booth Template on each PC. The file cannot be resold.
I use dslrBooth, not Darkroom.
The ZIP we provide imports straight into dslrBooth: follow our guide How to use a photo booth template with dslrBooth.